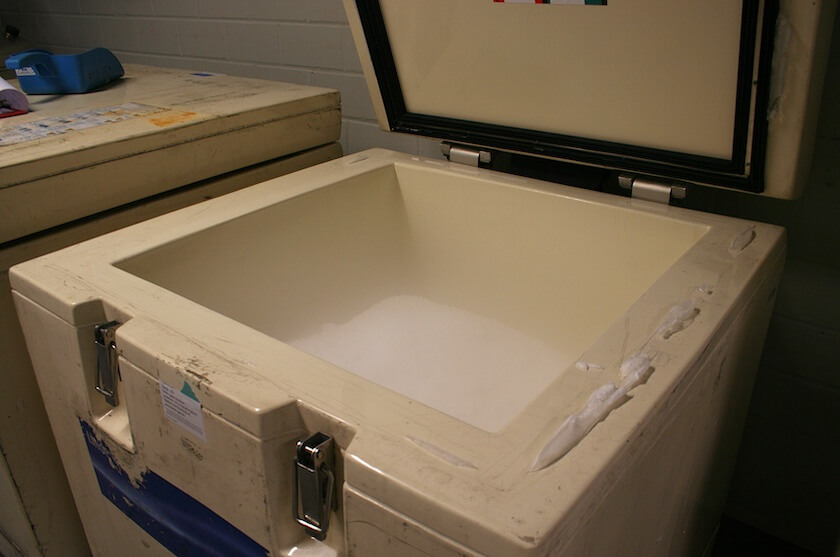
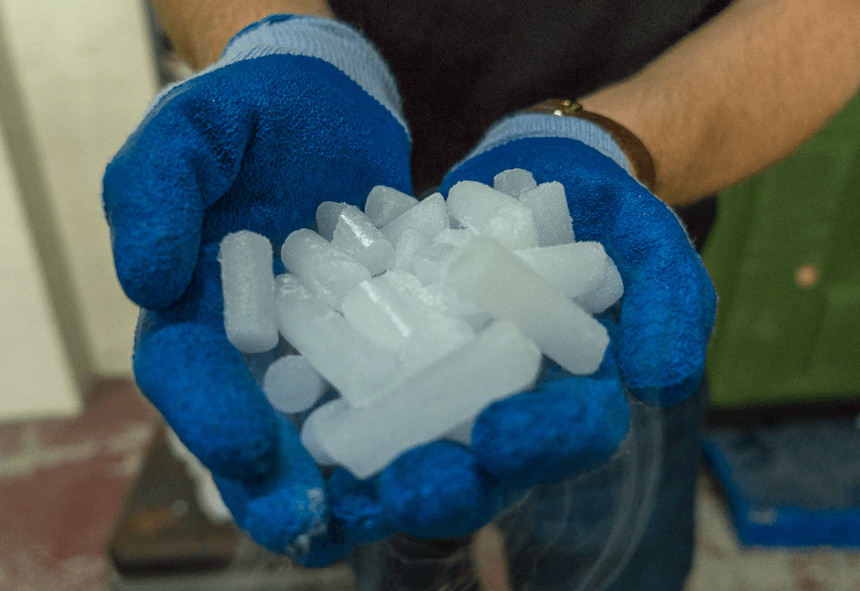
When you think about ice, what comes to mind? Maybe it’s an icy drink, a refreshing summer day, or the cold sensation that comes with being outside in the winter. Or perhaps you think of the cold temperatures that occur when dry ice is used.
Whatever you think about dry ice, chances are you have no idea how to pack it into a cooler. And even if you did, you probably wouldn’t know how to make the best use of dry ice in a cooler. That’s why we decided to write this guide.
We’re going to tell you everything you need to know about how to pack a cooler with dry ice and regular ice. It’s easy to learn, and it’ll help you get maximum ice retention for your next outdoor adventure.
10 Steps to Pack a Cooler with Dry Ice and Food Items
If you want to keep things frozen for a longer period of time, dry ice can be a great addition to your cooler. However, it’s important to handle dry ice carefully and follow specific steps to ensure both your safety and the effectiveness of the dry ice.
Pick a Dry Ice Compatible Cooler
The first step is to ensure that your cooler can withstand the frigid temperatures of dry ice, -109ºF (-78ºC). Unfortunately, all coolers are not designed to withstand such cold. So, make sure your cooler is dry-ice compatible.
You can check this by reading the manufacturer’s instructions. If it doesn’t say anything about dry ice compatibility, ask the manufacturer for a “dry ice test report” which should be included in the product literature.
The test report will tell you whether or not your cooler can withstand the frigid temperatures of dry ice. If your cooler cannot withstand the frigid temperatures of dry ice, you may have a choice to make: either get an entirely new cooler or find another way to cool your drinks.

Usually, hard-sided coolers are dry ice compatible because plastic can withstand low temperatures. On the other hand, are not able to carry dry ice because the extreme cold can cause the inner lining to become brittle and break.
Pre-Chill the Cooler
Pre-chilling the cooler before packing is very effective to get longer ice retention. When it comes to packing the cooler with dry ice along with foods and drinks, it’s very important that you pre-chill your cooler.
If you put dry ice in a warm cooler, it will disappear much faster than putting it in a pre-chilled cooler. Because the warm area can absorb a lot of heat and cause faster melting of ice.
To ensure your cooler is properly chilled, leave a bag of regular ice or some frozen water bottles inside it for several hours before packing. This will reduce the temperature inside the cooler and keep your dry ice last longer.
Take Proper Safety Measures
Before packing dry ice in the cooler, make sure to take proper safety measures to avoid any unwanted accidents. Make sure to handle dry ice with extreme caution as it can cause severe burns or damage to your skin. Skin contact for more than a second can destroy skin cells and lead to frostbite. So, you must be careful when handling dry ice so that you do not injure yourself.

You can use insulated gloves that will protect your hands from the dry ice, or you can also use something like a towel to keep the dry ice from coming into contact with your skin. In addition, you should wear safety glasses when breaking up dry ice with a hammer.
Place Dry Ice at the Bottom of the Cooler
So, now it’s time to pack the cooler with dry ice.
If you want the dry ice to last longer, it is best to put it at the bottom of the cooler. Cold air sinks and the opening to the cooler is at the top, so this will protect the dry ice from hot air and outside heat.
If you put the dry ice at the bottom, underneath the food and drinks, you are much less likely to burn your skin. But if you put it directly on top of your stuff, you are more likely to get burned.
Put a Layer of Paper or Towel on Top of the Dry Ice
You should never place food or drink directly next to dry ice, as this can cause freezer burn and ruin those items. This is why it’s necessary to put a layer of paper or towel on top of the dry ice. This will help protect your food and drink from the extreme cold.
If you’re using large blocks of dry ice, you can wrap them in a towel, or newspaper. This will help keep your cooler from the dry ice’s extreme cold, and also protect anyone from accidentally touching it.
Put Regular Ice on the Layer
It’s not compulsory to put regular ice on top of the layer but it will help you get an impressive result. The combination of dry ice with regular ice will help you achieve some great results in terms of cooling.
Therefore, you should put another layer of regular ice before putting foods and drinks inside the cooler.
Put your Frozen Food First Near the Dry Ice
When adding foods and drinks into your cooler, be sure to place any frozen food items closest to the dry ice. This will keep them frozen longer, as the dry ice is very cold.
If you have frozen meat or other food that you won’t immediately need, you can pack them at the bottom of the cooler (near the dry ice). This will make the meat frozen and last for a longer period of time.
Make Another Layer Using Regular Ice
After putting frozen items, it’s better to make another layer of regular ice. Make sure to fill each and every hole inside the cooler. Never keep any empty space inside your cooler. Because empty space holds air which ultimately causes faster ice melting.
Put Non-Frozen Items and Drinks
When you put dry ice in a cooler, it will get very cold inside. Sometimes everything may freeze over, but the farther away an object is from the dry ice, the less likely it is to freeze.
This is why you should put items you don’t want to freeze in your cooler as far away from the dry ice as possible.
Put Final Layer of Ice and Close the Cooler
After putting all the frozen and non-frozen food and drinks inside the cooler, it’s time to put the final layer of ice. Here, you can put either regular ice or dry ice.
It’s not always necessary to put dry ice only on the bottom of a cooler – sometimes it can go on the top as well.
The best way to keep everything in your cooler frozen for a long period of time is to put the dry ice at the bottom and the top. You can put dry ice on the top, bottom, and even in the middle of the cooler if you want to keep everything frozen.
However, if you don’t want to make your drinks or other snacks frozen, you should use regular ice on the top layer of the cooler.
Before closing the lid, make sure the cooler is filled properly with food and ice. Never keep any empty space inside the cooler.
You may also be interested in our guide on how to store a cooler when not in use?
Tips to Make the Best Use of Dry Ice in a Cooler
So, now you know how to properly pack a cooler with dry ice. In the following section, we are going to share some tips that will help you get the best out of your cooler when using dry ice:
Pre-Chill the Items Before Packing
When placing items in a cooler with dry ice, be sure that they are pre-chilled. For frozen items, make sure they are pre-frozen. If not, the dry ice will freeze them. And you will lose a lot of the ice in the process of freezing them.
Use More Dry Ice to Get More Ice Retention
The main purpose of using dry ice in a cooler is to maximize the ice retention time. Usually, the more dry ice you use in a cooler, the longer it will last. So, if you are going on a long vacation and want to have longer ice retention from your cooler, make sure to use as much dry ice as you can.
Ensure Proper Ventilation
When using dry ice in a cooler, you must ensure good ventilation. You can open the drain plug of the cooler to allow carbon dioxide to escape so that pressure does not build up inside the cooler. Alternatively, you can keep the cooler open to escape the carbon dioxide.
Never Keep The Cooler In a Warm Place
The outside heat is one of the key reasons for melting ice inside the cooler. Thus, you should never keep your cooler in any warm place. never keep it under the sun or near your cooking place.
Some Interesting Facts About Dry Ice
The followings are some interesting facts you may not aware of about dry ice:
- The average temperature of dry ice is about -109ºF (-78ºC). It is colder than regular ice and can quickly cool or freeze items and keep them colder for a longer period of time.
- Dry ice doesn’t melt the same way regular ice does. It never releases liquid instead it releases gas. So, if you put any paper-wrapped food item inside dry ice, it will never get wet.
- Dry ice is more lightweight than traditional ice, making it more convenient for transporting your cooler.
- Dry ice is perfect for freezing items like meat and ice cream. However, it is not the best choice for short outings. Because dry ice will freeze your snacks and beverages within a very short time and you cannot even eat them fresh.
- Dry ice will not last as long as regular ice making it a poor choice for extended periods of time.
- Dry ice is more expensive than regular ice. So, when it comes to keeping many items cold for a long time, regular ice is the right choice.
- Dry ice should only be used in well-ventilated areas, as it converts to carbon dioxide gas instead of melting. This can replace oxygen, so you should not eat or swallow it.
- Dry ice can be purchased from any local store. You can also purchase them from online stores such as Amazon, Walmart, eBay, etc.
- Due to the risk of handling, some stores have purchasing requirements that state you must be over 18 years of age to purchase dry ice.
- Dry ice can be used in combination with regular ice to help it last longer. However, you should keep the dry ice from coming into contact with any water or liquid to make it last even longer.
Watch the following video to get a better understanding of how to use dry ice in a cooler:
Final Words
If you want to get better ice retention from your cooler on your next outdoor trip, dry ice is a great option.
Using dry ice in a cooler is a very simple and safe way to keep things cold for a long period of time. However, you must take proper safety precautions and pack the dry ice properly in order to get the best out of it.
Follow the steps outlined above in this article and you’ll be using it like a pro in no time.